How to create barcodes in InDesign 2021 - TutorialMany people use InDesign for designing book covers, blisters or packaging. In most cases barcodes have to be added to the artwork. There are two ways to create barcodes in InDesign: You can use an integrated solution, like a barcode extension or plug-in or you can use external stand-alone software to create the code and then import it into InDesign.Adobe InDesign - Create Barcode with a Plug-inThe easiest way to create a barcode in InDesign is via a barcode extension or plug-in. A fully integrated solution saves time and reduces errors. In this and the following sections, we'll show you how to create a barcode and add it to your artwork. The screenshots show the Softmatic Barcode Extension for Adobe InDesign 2021. Barcode creation works in four simple steps: 1. Select barcode type 2. Enter your data 3. Set properties of the code like size or human readable text 4. Add the barcode to your artwork Let's look into the individual steps in more detail: Step 1: Select barcode type We begin by selecting the required barcode symbology. In this example we will be creating a Code EAN 13 barcode. EAN 13 is used for retail and is one of the most used barcode symbologies. It is easily recognizable by the characteristic bar pattern and the single digit on the left side of the symbol. Click the Code type drop-down and select "EAN 13": 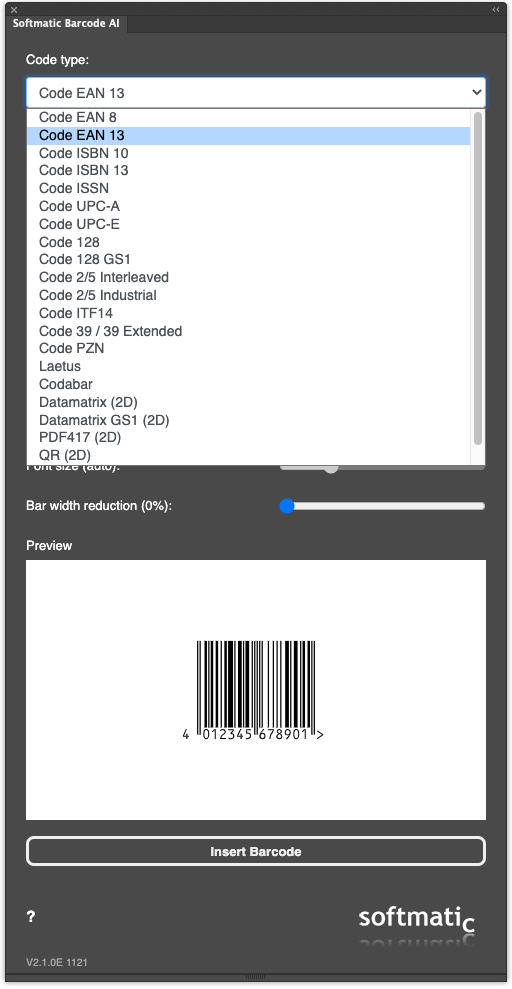
Step 2: Enter your data EAN 13 encodes 12 digits plus a mandatory check digit, hence the name. Enter our data ("501234567890") and hit <Enter> to update the preview: 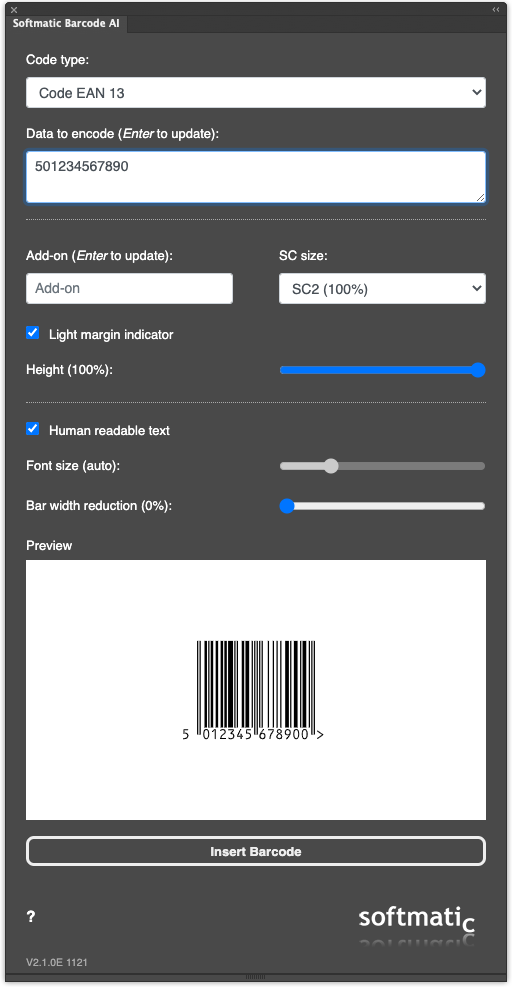
Note how the extension automatically calculated and appended the check digit ("0") to the data so that the text line under the code now reads "5012345678900". As a rule, the extension will always recalculate the check digit to make sure a valid barcode can be created. EAN 13 will only encode numeric data. Note what happens when you try to encode letters ("abcdef"): 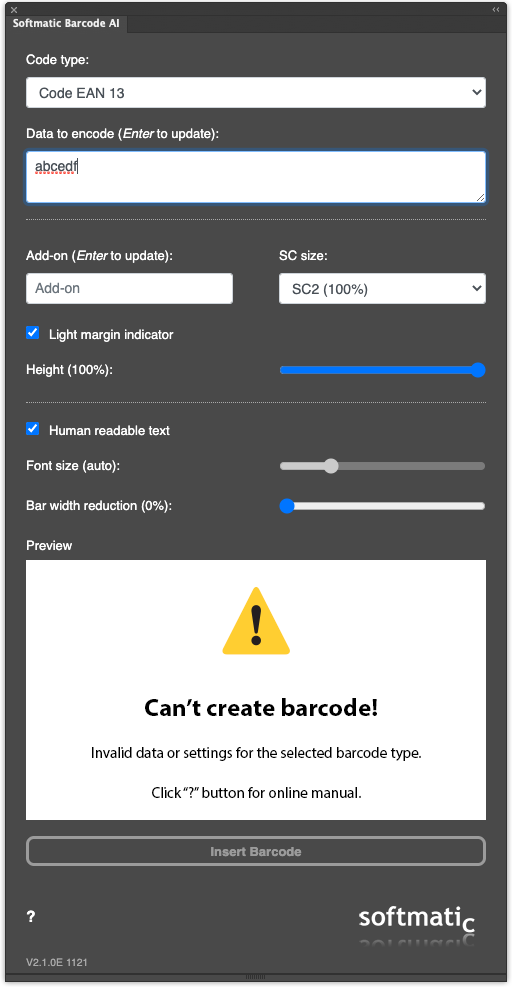
The manual lists the data requirements for all supported barcodes. Step 3: Set barcode size and style EAN 13 is standardized; the extension will by default create an EAN 13 in size SC 0, resulting in a barcode that is c. 26mm high and 37mm wide (more about EAN / UPC SC sizes and dimensions). We want a larger code (SC 6) but with half height (50%). Note how the preview is updated in realtime as you set styles and size: 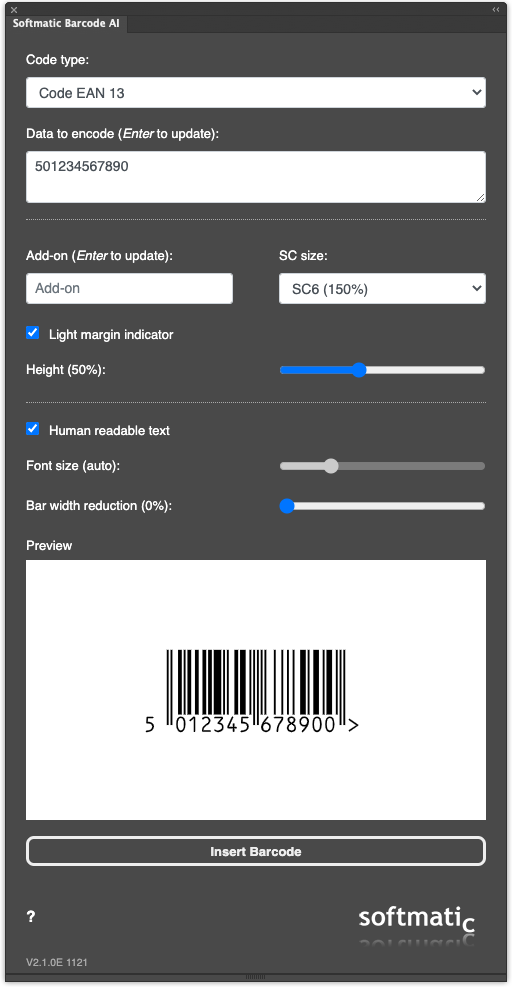
As an aside, with EAN and UPC the size of the human readable text line is calculated automatically by the extension to fit the text properly under the code. Hence, the option to set the font size is grayed out. Step 4: Adding the barcode to your artwork Once we are happy with the barcode, we can add it to our artwork. Click "Insert" to add the code to the current page (make sure the page is visible and not locked): 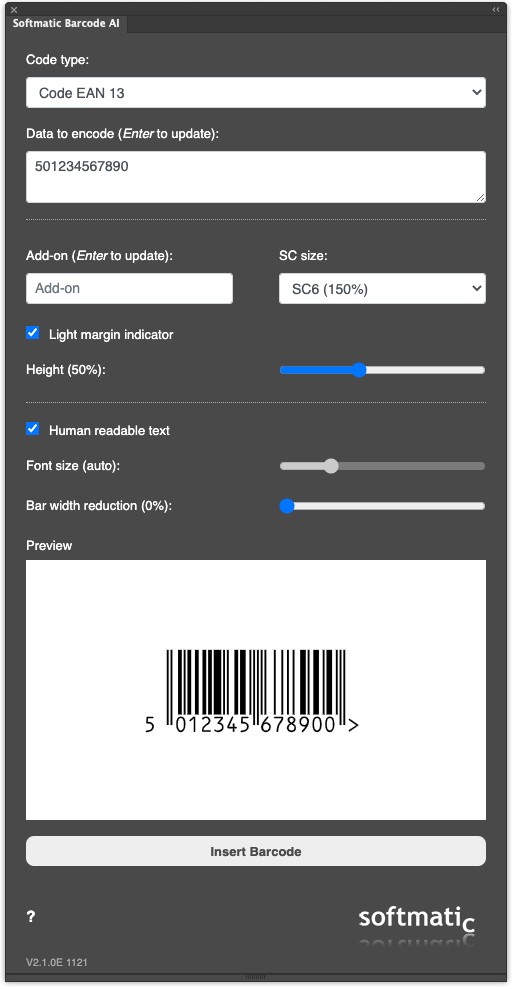
Tip: The inserted barcode is an ordinary graphic element. As such it can be freely moved around, rotated or scaled to fit your designs. We recommend setting up a dedicated layer for your barcodes and then lock the layer to prevent accidental changes to the code. See best practices further down. All the above steps are also in this video that gives an introduction to the Softmatic Barcode Extension for Adobe InDesign: Adobe InDesign - The Softmatic Barcode ExtensionIn addition to the standard retail barcodes, the Softmatic Barcode Extension also supports a wide range of linear and 2D matrix codes and will also let you create QR codes directly in InDesign - ideal if you want to add codes with URLs or email addresses to your document. In total over twenty different symbologies are supported:
Barcodes can be widely customized with options for size, readable text and bar width reduction to compensate for dot gain during printing. The extension performs all required data formatting and check digit calculation in the background - no macros or programming required. The barcode extension works stand alone, no online access, external components or barcode fonts required. InDesign INDD documents with barcodes have no dependencies and can be freely shared. Softmatic Barcode Extension - Sample BarcodesWe've provided two extensive documents that show all supported codes: Sample with all code types: File format: INDD 2021 or higher Sample with all code types: File format: PDF Softmatic Barcode Extension - DownloadThe Softmatic barcode extensions for InDesign, Illustrator and Photoshop are available on the Adobe Exchange and from the Softmatic online store. Adobe InDesign - Using external stand-alone barcode softwareA stand-alone solution is preferable if you use an older Creative Suite version of AI (CS3, CS4, CS5, CS6 etc.) that doesn't support the plug-in.Our recommendation here is Softmatic BarcodePlus V5, download here (macOS 10.15 or higher, pre 10.15: here, Windows 10 here). The app creates all common retail barcodes, like EAN, UPC or ISBN and will save codes as EPS/PDF and in various raster formats. In addition BarcodePlus V5 supports a wide variety barcodes for warehousing, pharmaceuticals and 2D symbologies like QR, Aztec or PDF417. Display settings - Correct pixelated graphicsFor performance reasons, InDesign features different settings for display quality. With standard or low quality settings, the barcodes may look unsharp or blocky like a low-resolution pixelated image, example: 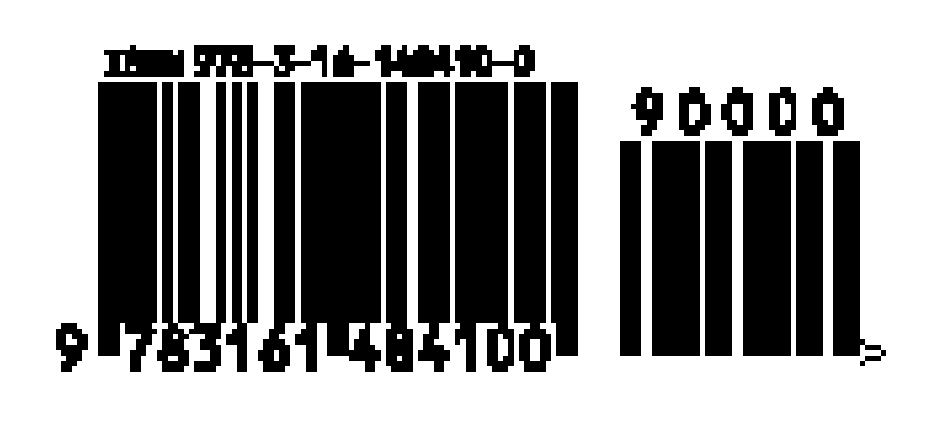
For best display quality, select menu View > Display Performance > High Quality Display. Note the difference to the pixelated sample above: 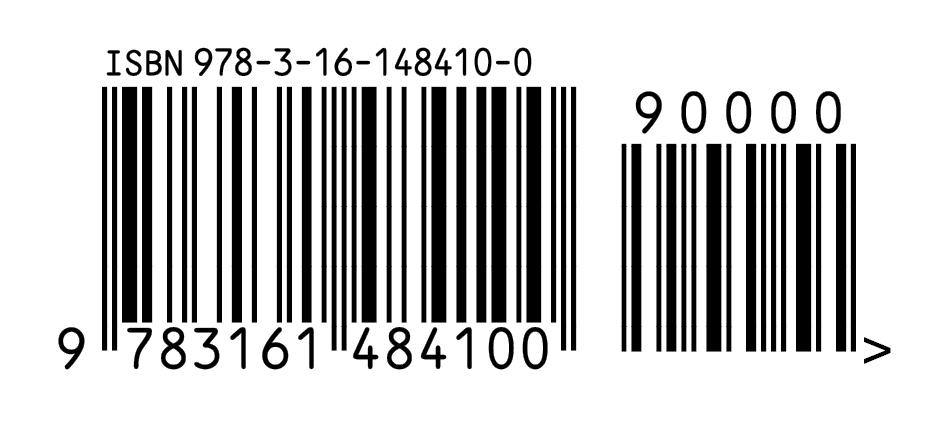
Best PracticesWhen working with barcodes in InDesign, please consider the following best practices:
Barcode Data Merge in InDesignWe've prepared another tutorial that shows how to import large amounts of barcodes into InDesign via data merge; ideal for creating product labels with serial barcodes, catalogs and similar tasks. Click here.Verifying and scanning barcodesWe recommend test scanning or verifying barcodes before going into production. All recent smartphones will be able to detect and scan barcodes with the built-in camera. Screenshot shows the CoScan app, a PDF and barcode scanner for iPhone. The barcode is detected and decoded in the life image; the encoded data can then be copied to the clipboard for further use in Excel, Word, Notes etc.: 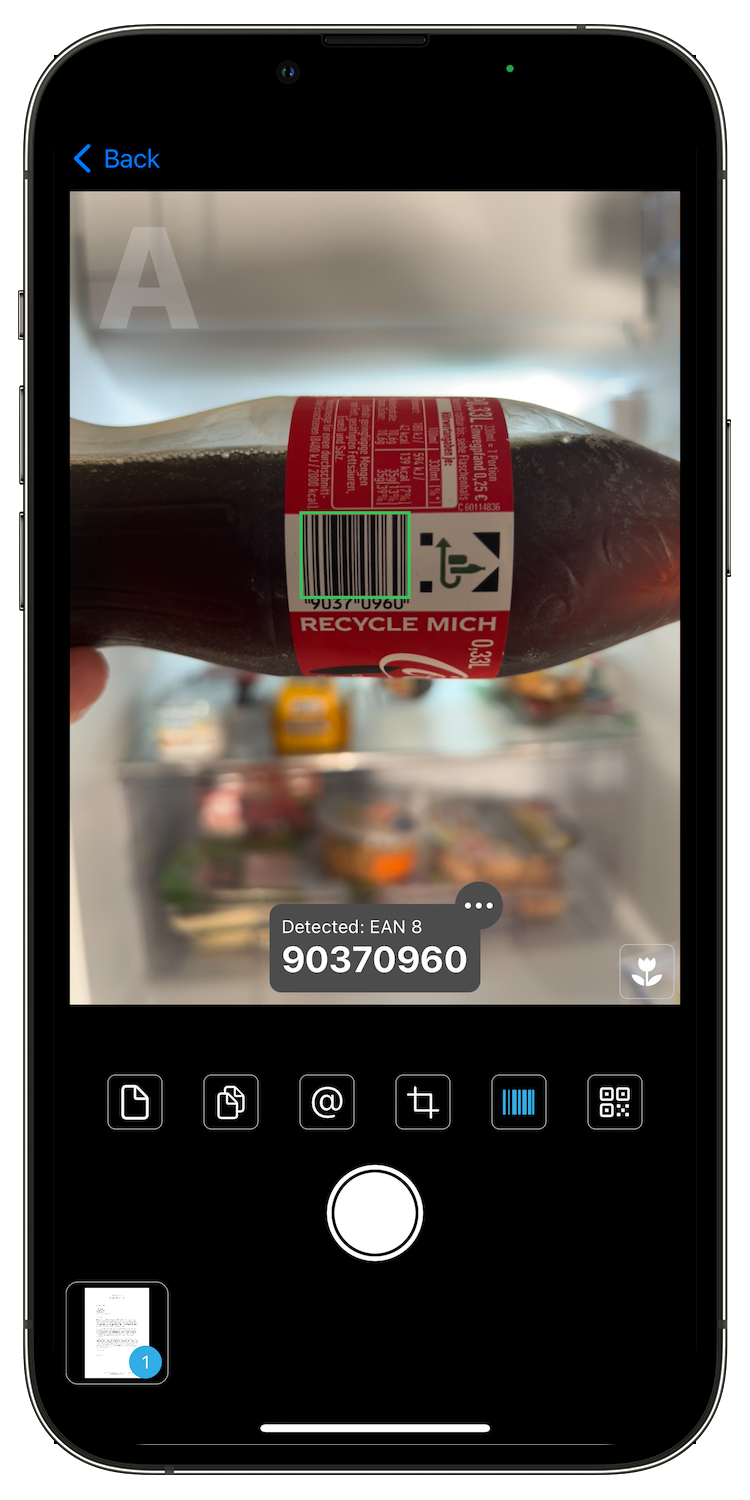
This app can also be used to identify an unknown barcode type; the respective symbology ("EAN 8" in this case) is written next to the data. |
